How To Set Up Your Barcode Scanner in 3 Simple Steps
If you want to increase the speed at your checkout counter, invest in a barcode scanner. Not only does it simplify the sales transaction process by eliminating the need to look up items via the search field, it automatically updates your inventory. A barcode scanner is easy to use, and just as easy to set up. Of course, this is all with the assumption that you already have a quality point-of-sale (POS) system like Bepoz. Learn how to set up your barcode scanner in 3 simple steps.
Step 1: Setting Up Your Barcode Scanner Hardware
First, there are several choices for scanners based on how they will be used.Bepoz supports nearly all types of barcode scanners like CCD scanners/LED scanners, laser scanners, and omnidirectional barcode scanners, just to name a few. Learn more about the 6 Types of POS Scanners.
You’ll want to start by following the set up instructions. Before you can begin scanning items, make sure it’s connected to your iPad, or computer terminal.
2. Input UPC and SKU’s
Now it’s time to prepare the barcodes to be scanned into the register. If you have items that already have UPC labels, you’ll want to select the item from your list and enter the UPC into the proper field. For merchandise that does not have UPC’s, use the SKU number. These are automatically generated for each item. Then print labels for your items.
3. Start Scanning
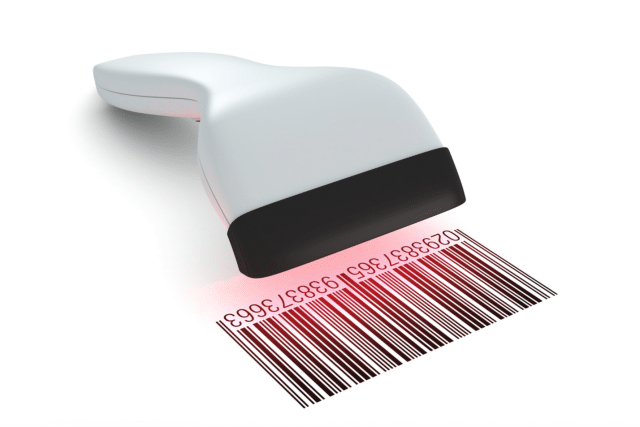
After you have set up your hardware, and created your UPC’s and SKU’s, you are ready to start scanning. Pick up an item, hold the barcode to the scanner and press the scan button.
Now that you’ve set up your scanner, be sure to learn its many benefits. Here are the8 Ways Your Business Could Benefit From A Barcode Scanner. Also, make sure employees are trained on how to use it properly. Contact Bepoz for more info about POS software, as well as barcode scanner hardware.

