
OVERVIEW
It may make sense to create a blank database before begining your database setup and programming to ensure the cleanest format and data. This article describes how to create a generic blank database on a Venue Server.
PREREQUISITES
N/A
PROCEDURE
Create Database
- Run Database.exe on the Venue Server
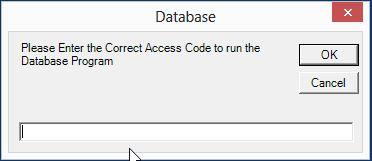
- Enter Access Code to run the program
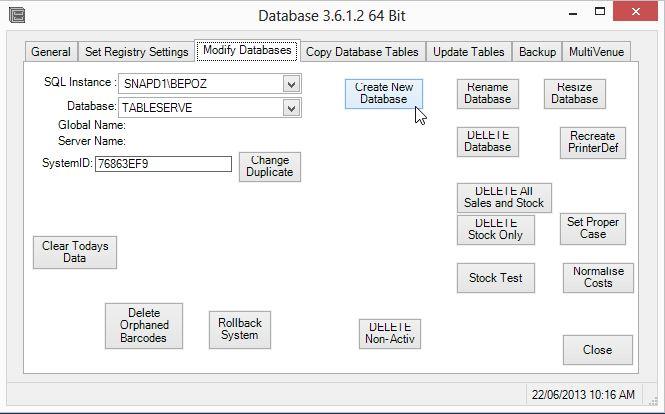
- Go to the Modify Databases Tab and click Create New Database

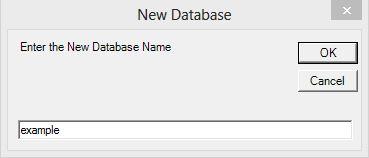
- Enter a database name and click OK
- Pick the local Bepoz Data directory (usually C:BepozData) and Save


- Enter the desired database size and click OK
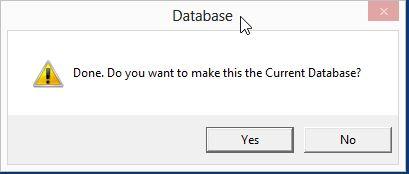
- Database.exe creates the database

- Click Yes to make the new database accessible with BackOffice.exe


Database Sizing Rule of Thumb:
1000 MB – Small store or low volume transactions
3000 MB – Medium size business or moderate transactions
9500 MB – Large Enterprise, high volume transactions, limit for SQL 2008R2 Express
10000 MB and Greater – Requires paid version of SQL Server and data storage considerations by business IT department based on historical usage trends
Initialize Database
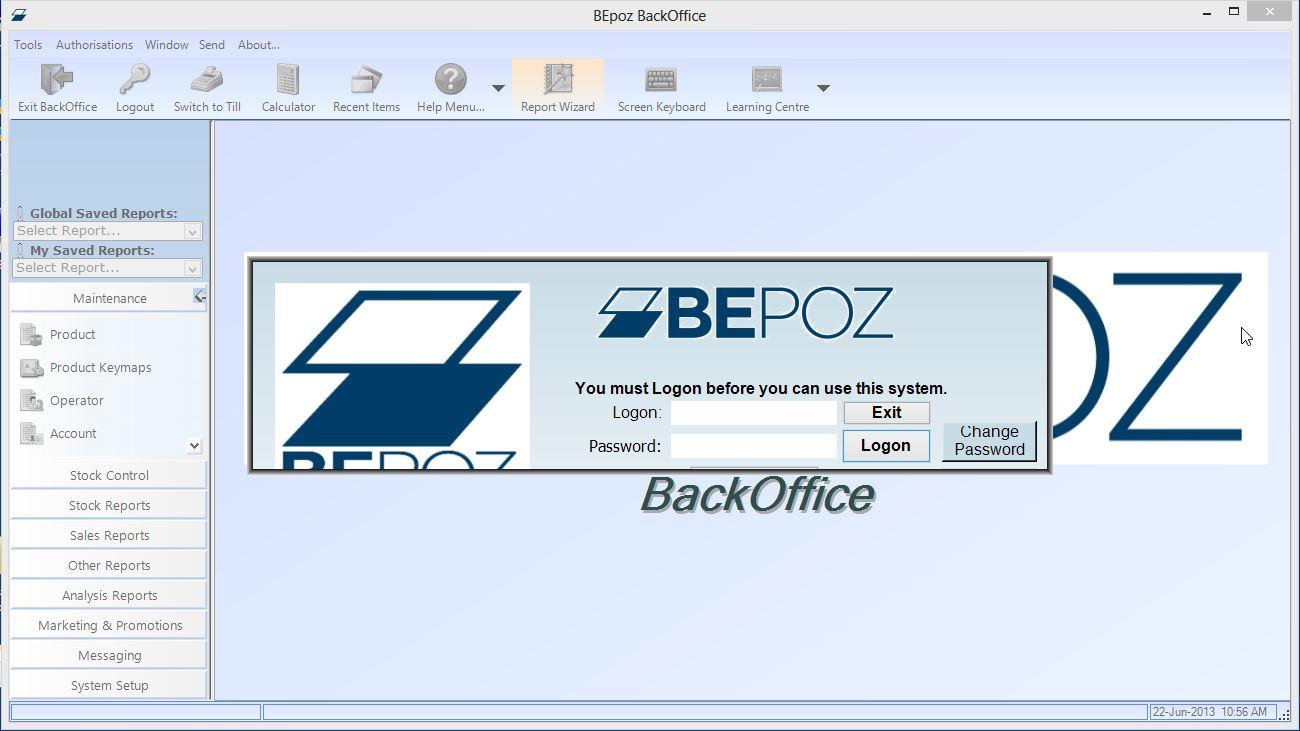
- Run BackOffice.exe
- Set Organization Name to be the name of the Business and click OK (other settings will be revisited)

- Set Venue Name to be the name of the Business Physical Location (Location Store #, Street Name, etc) and click OK

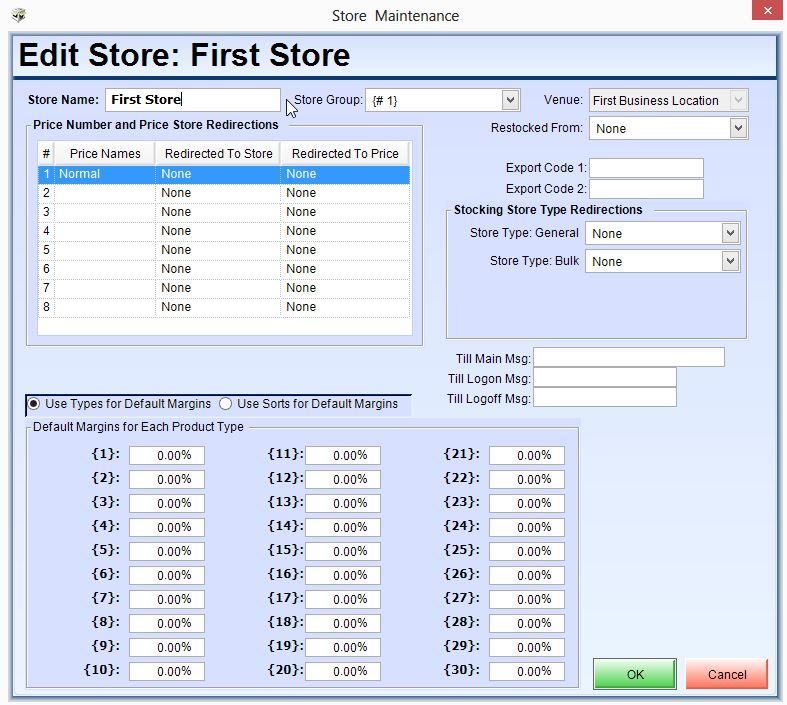
- Set the Store Name to be the first store in the database (see Glossary for explanation of Bepoz Stores) and click OK

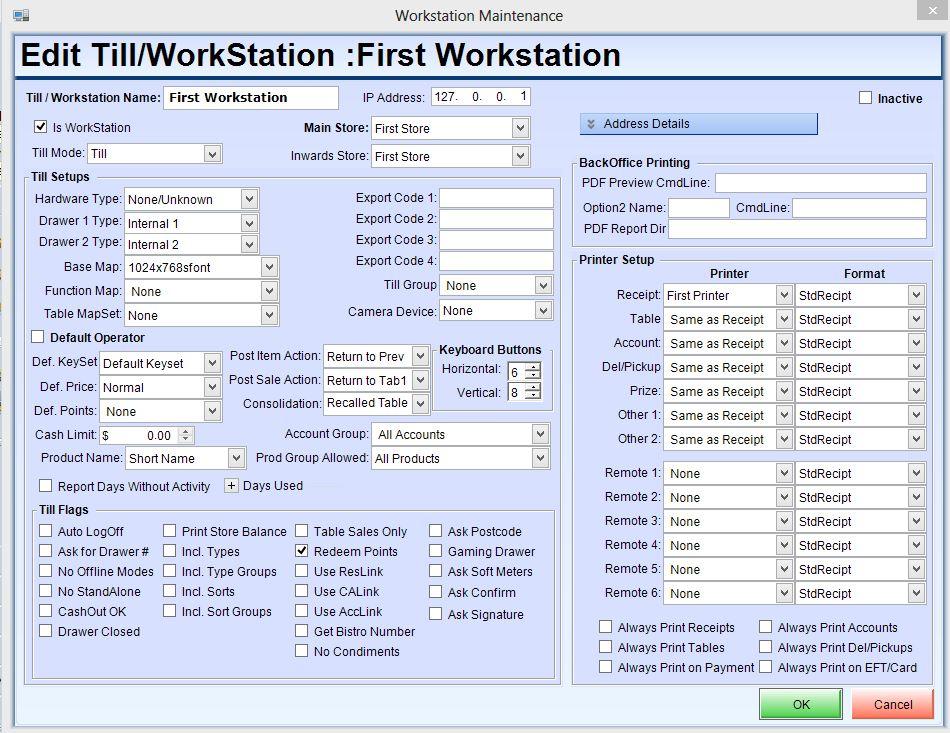
- Set the Till/Workstation Name and click OK

Database Configuration Highlights
Specialized settings are covered in other topics. The instructions below highlight the procedure to access Global, Venue, Store, & Till/Workstation specialized settings, and provide screenshots of the various settings included in each section for reference.
- Login to BackOffice.exe

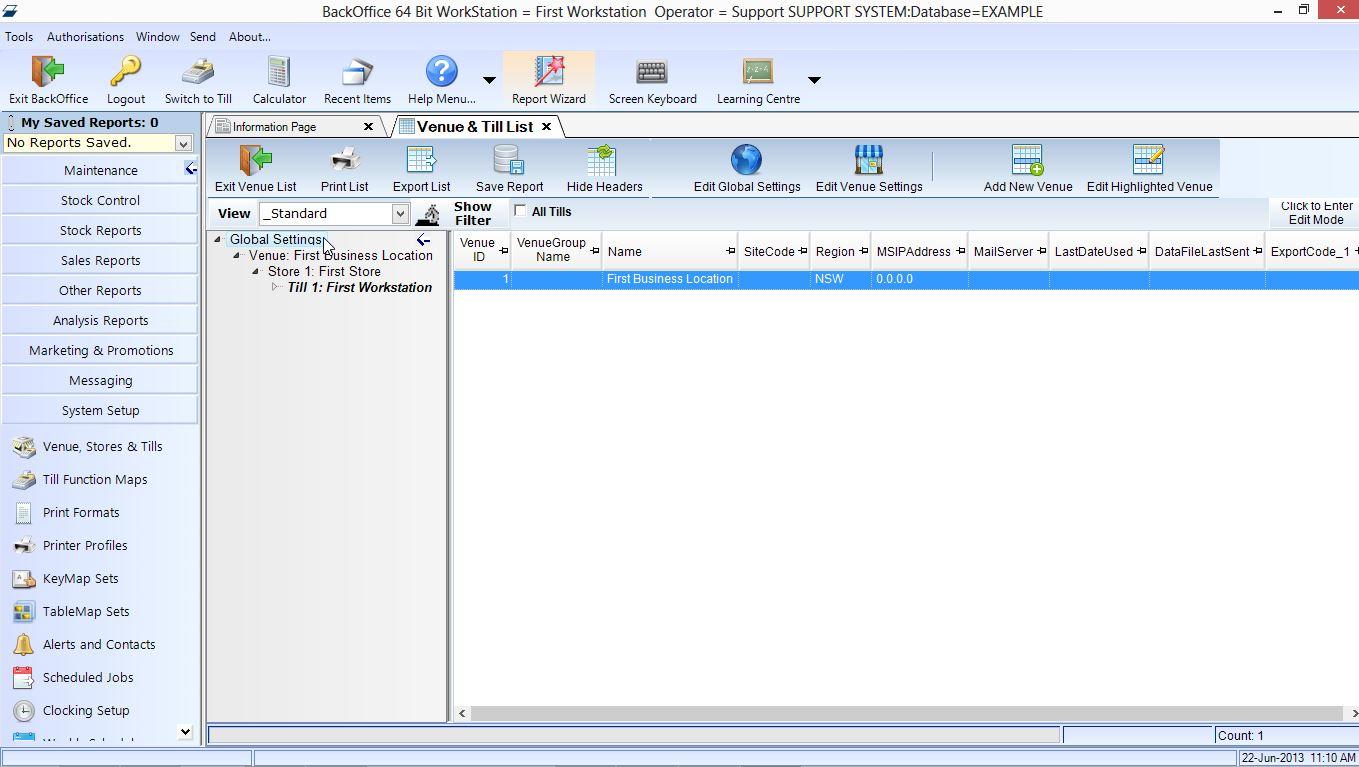
- Go to System Setup on the left column and click Venue, Stores, and Tills
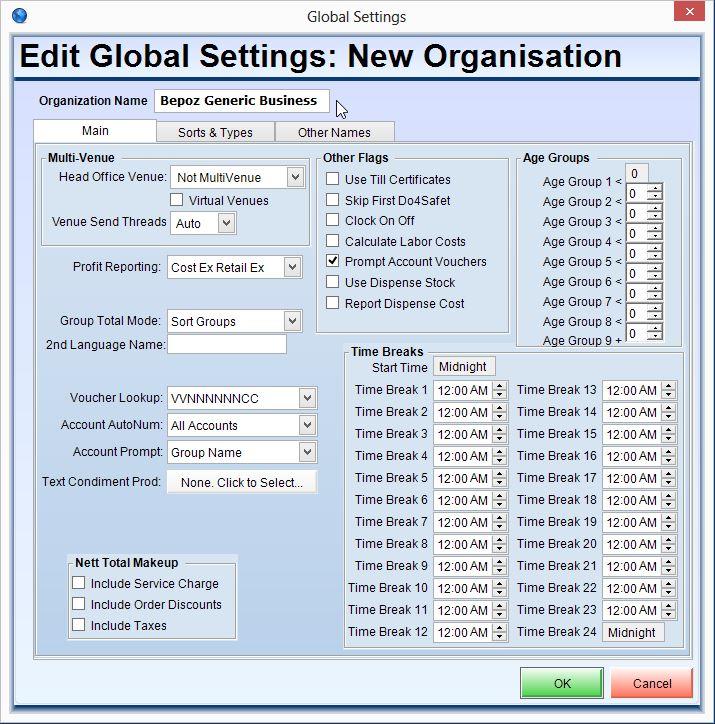
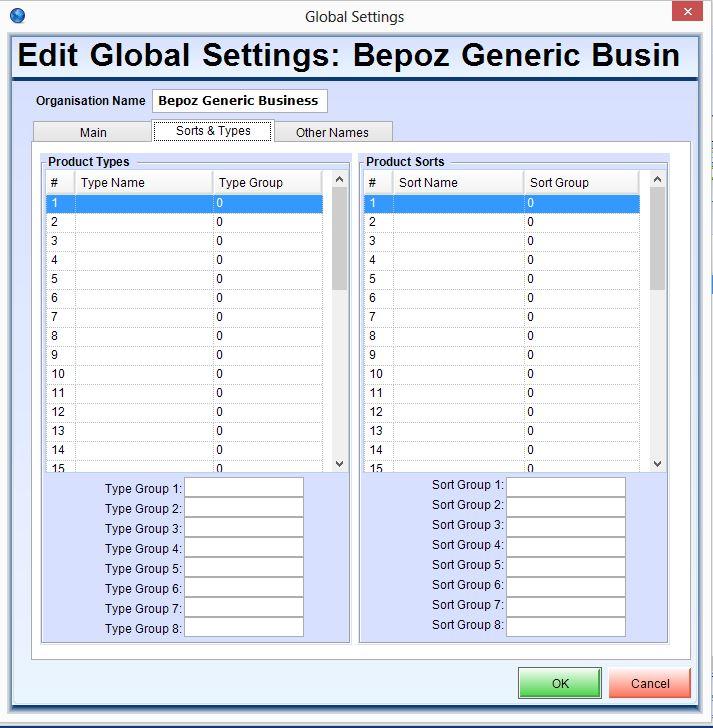
- Double Click Global Settings to access the setup screen

- Global Main Tab Settings

- Global Sorts & Types Tab Settings

- Global Other Names Tab Settings

- Clicking Cancel will return to the Venue, Stores, and Tills Screen
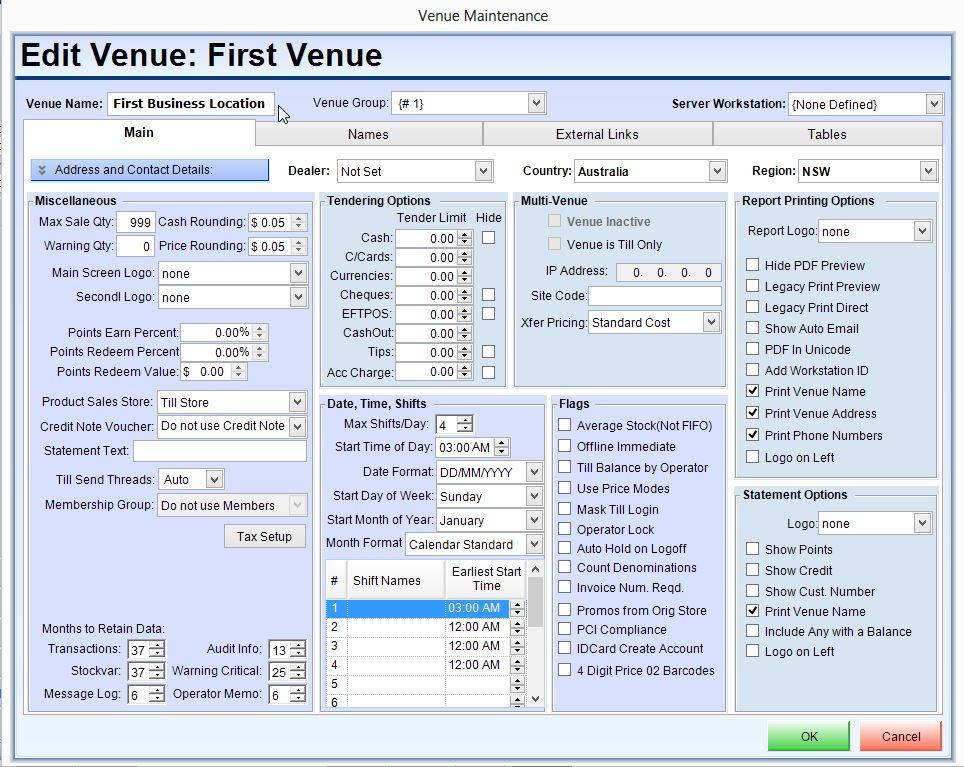
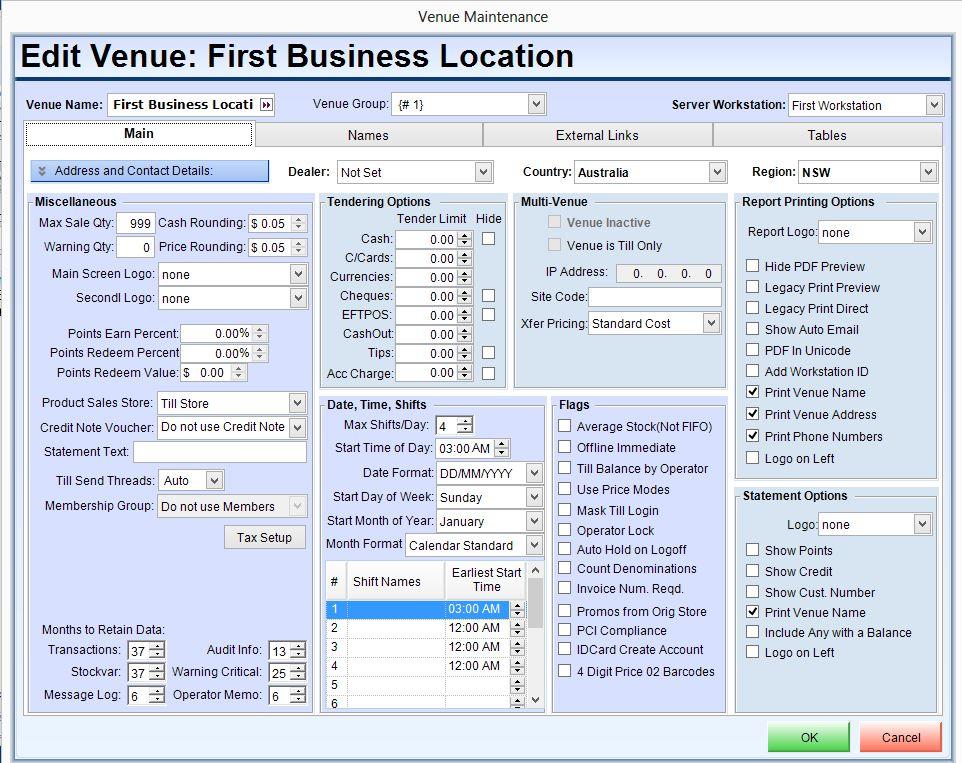
- Double Click the Venue to access the Venue setup screen
- Venue Main Tab

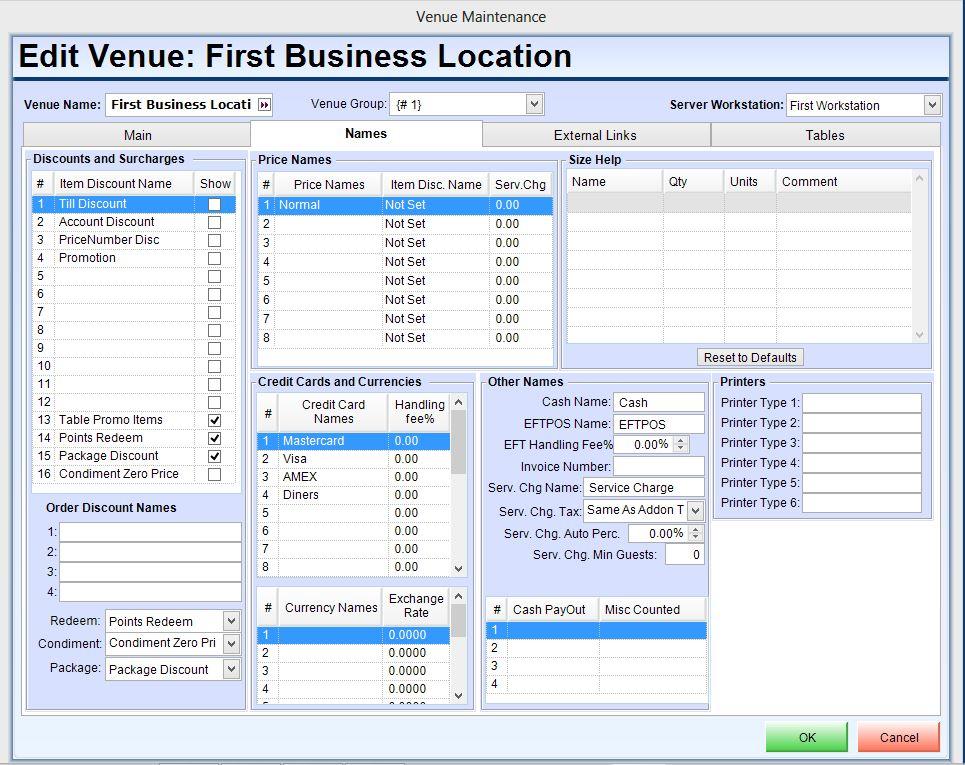
- Venue Names Tab

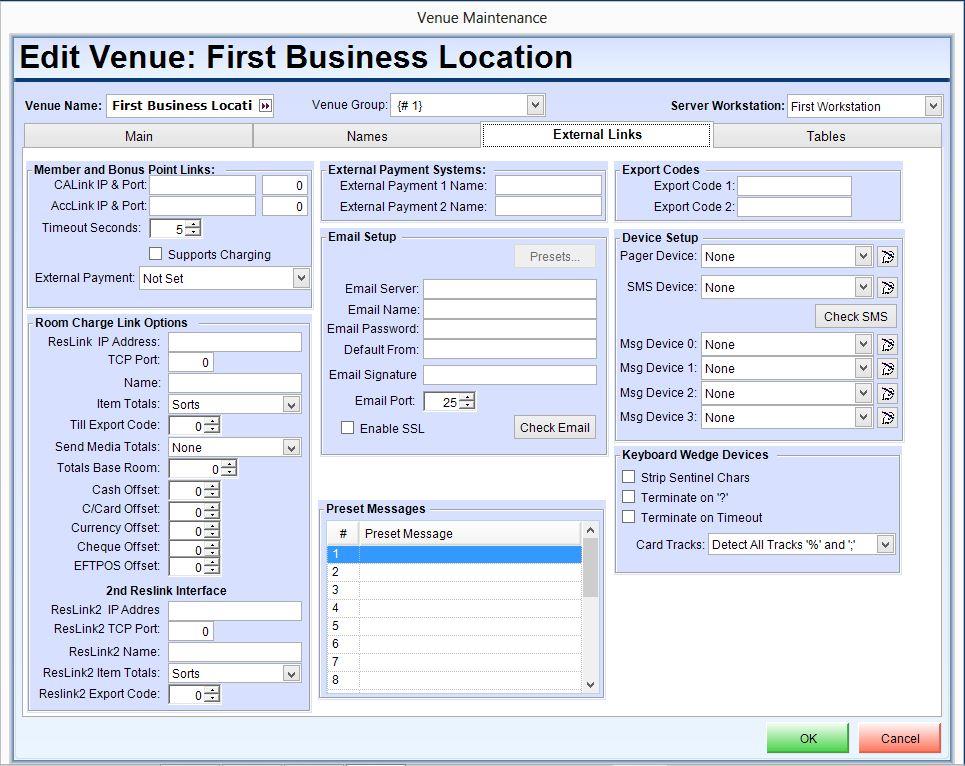
- Venue External Links Tab

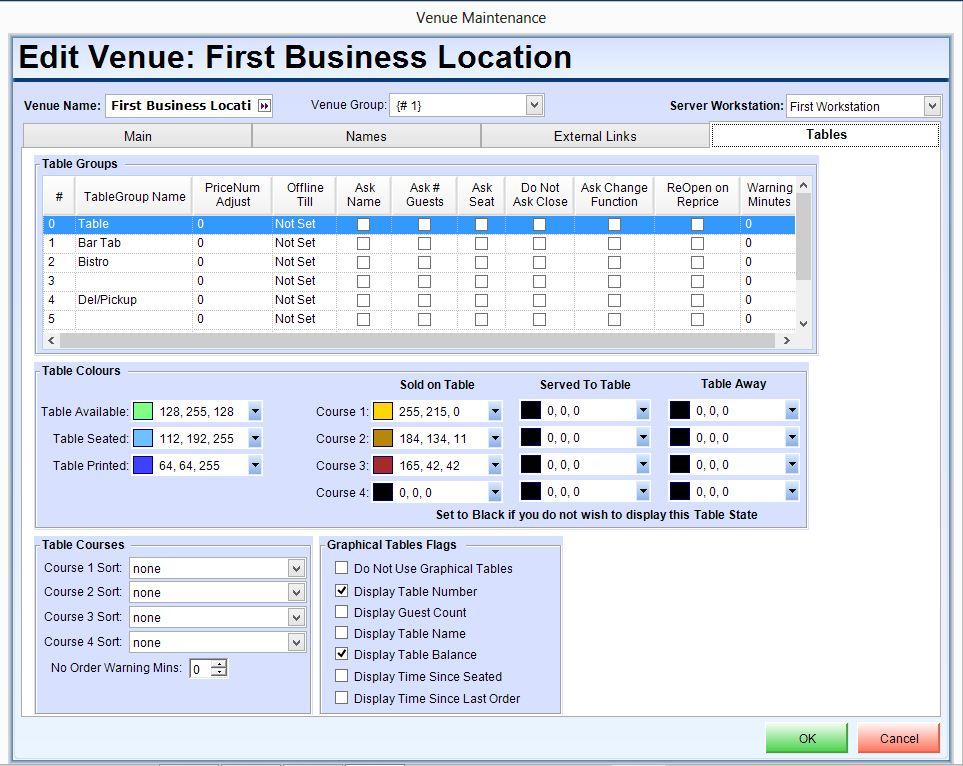
- Venue Tables Tab


RESOURCES
N/A1